
Henrietta’s new salon couch
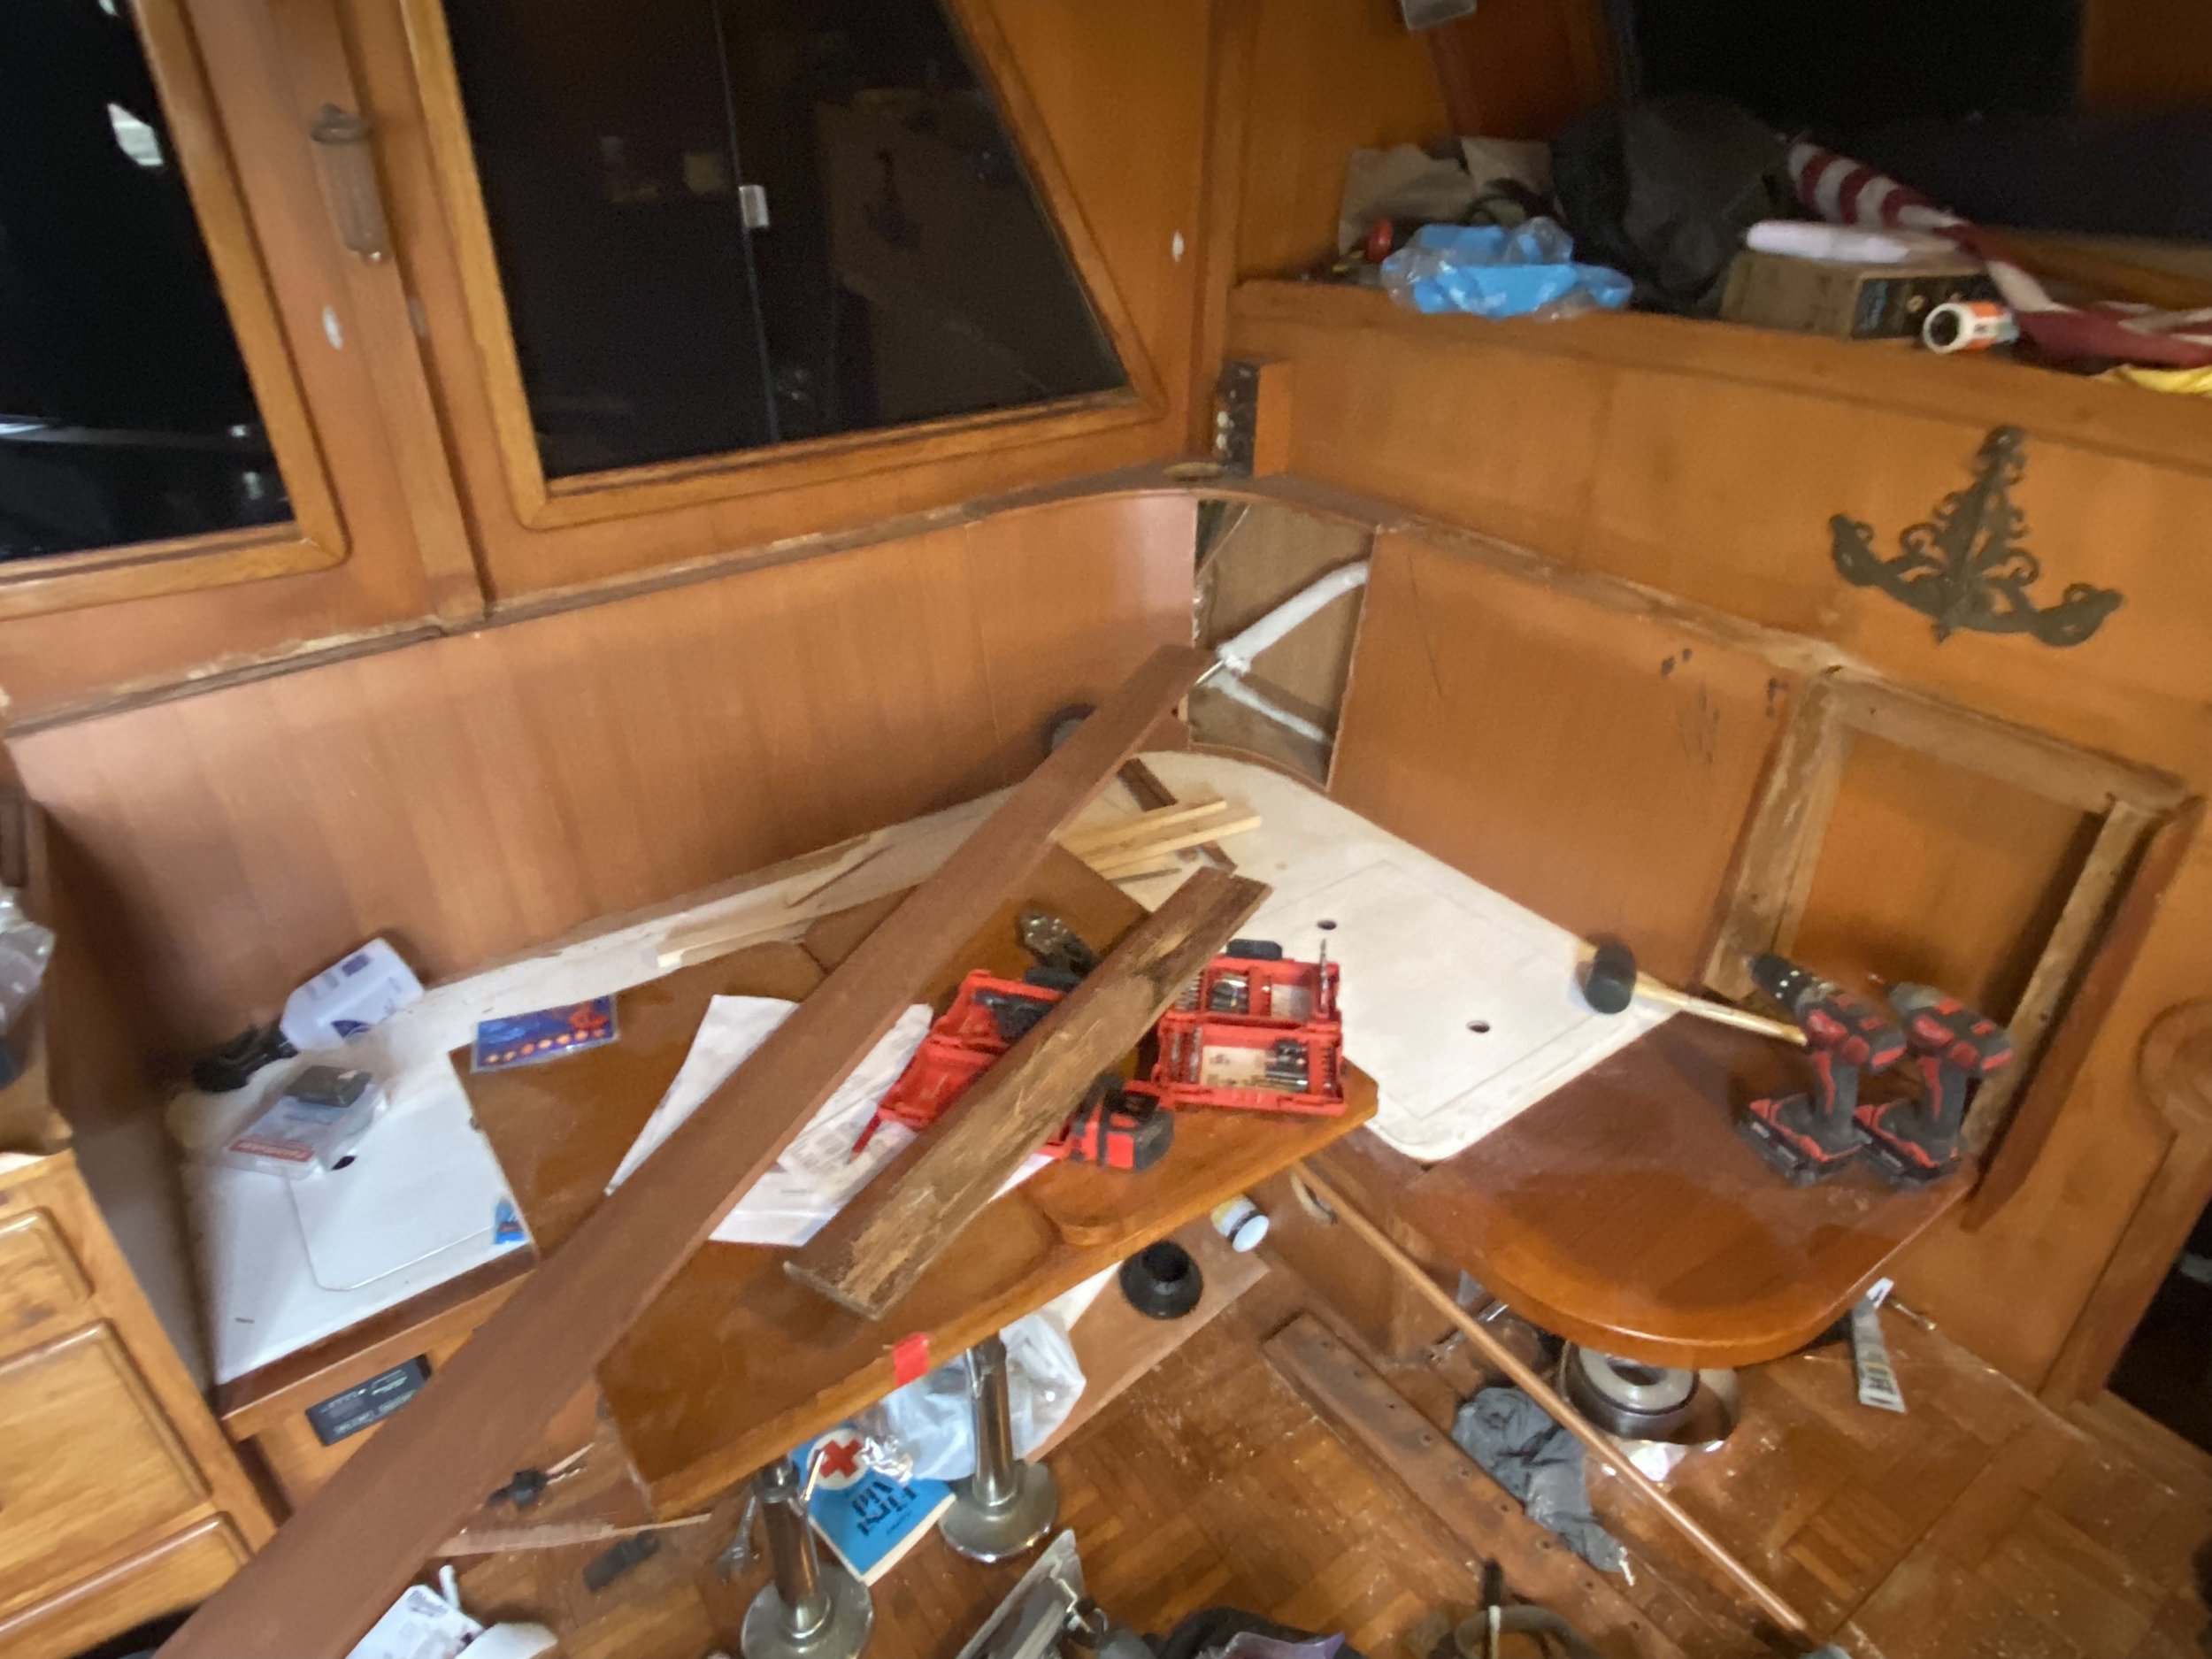
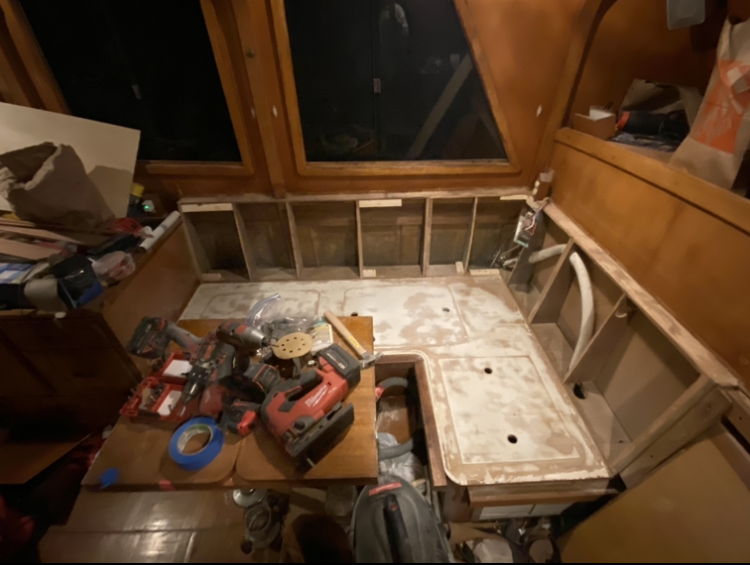
After Andrew installed the new diesel heater on Henrietta, we decided our next project would be Andrew building a new salon settee (aka couch).
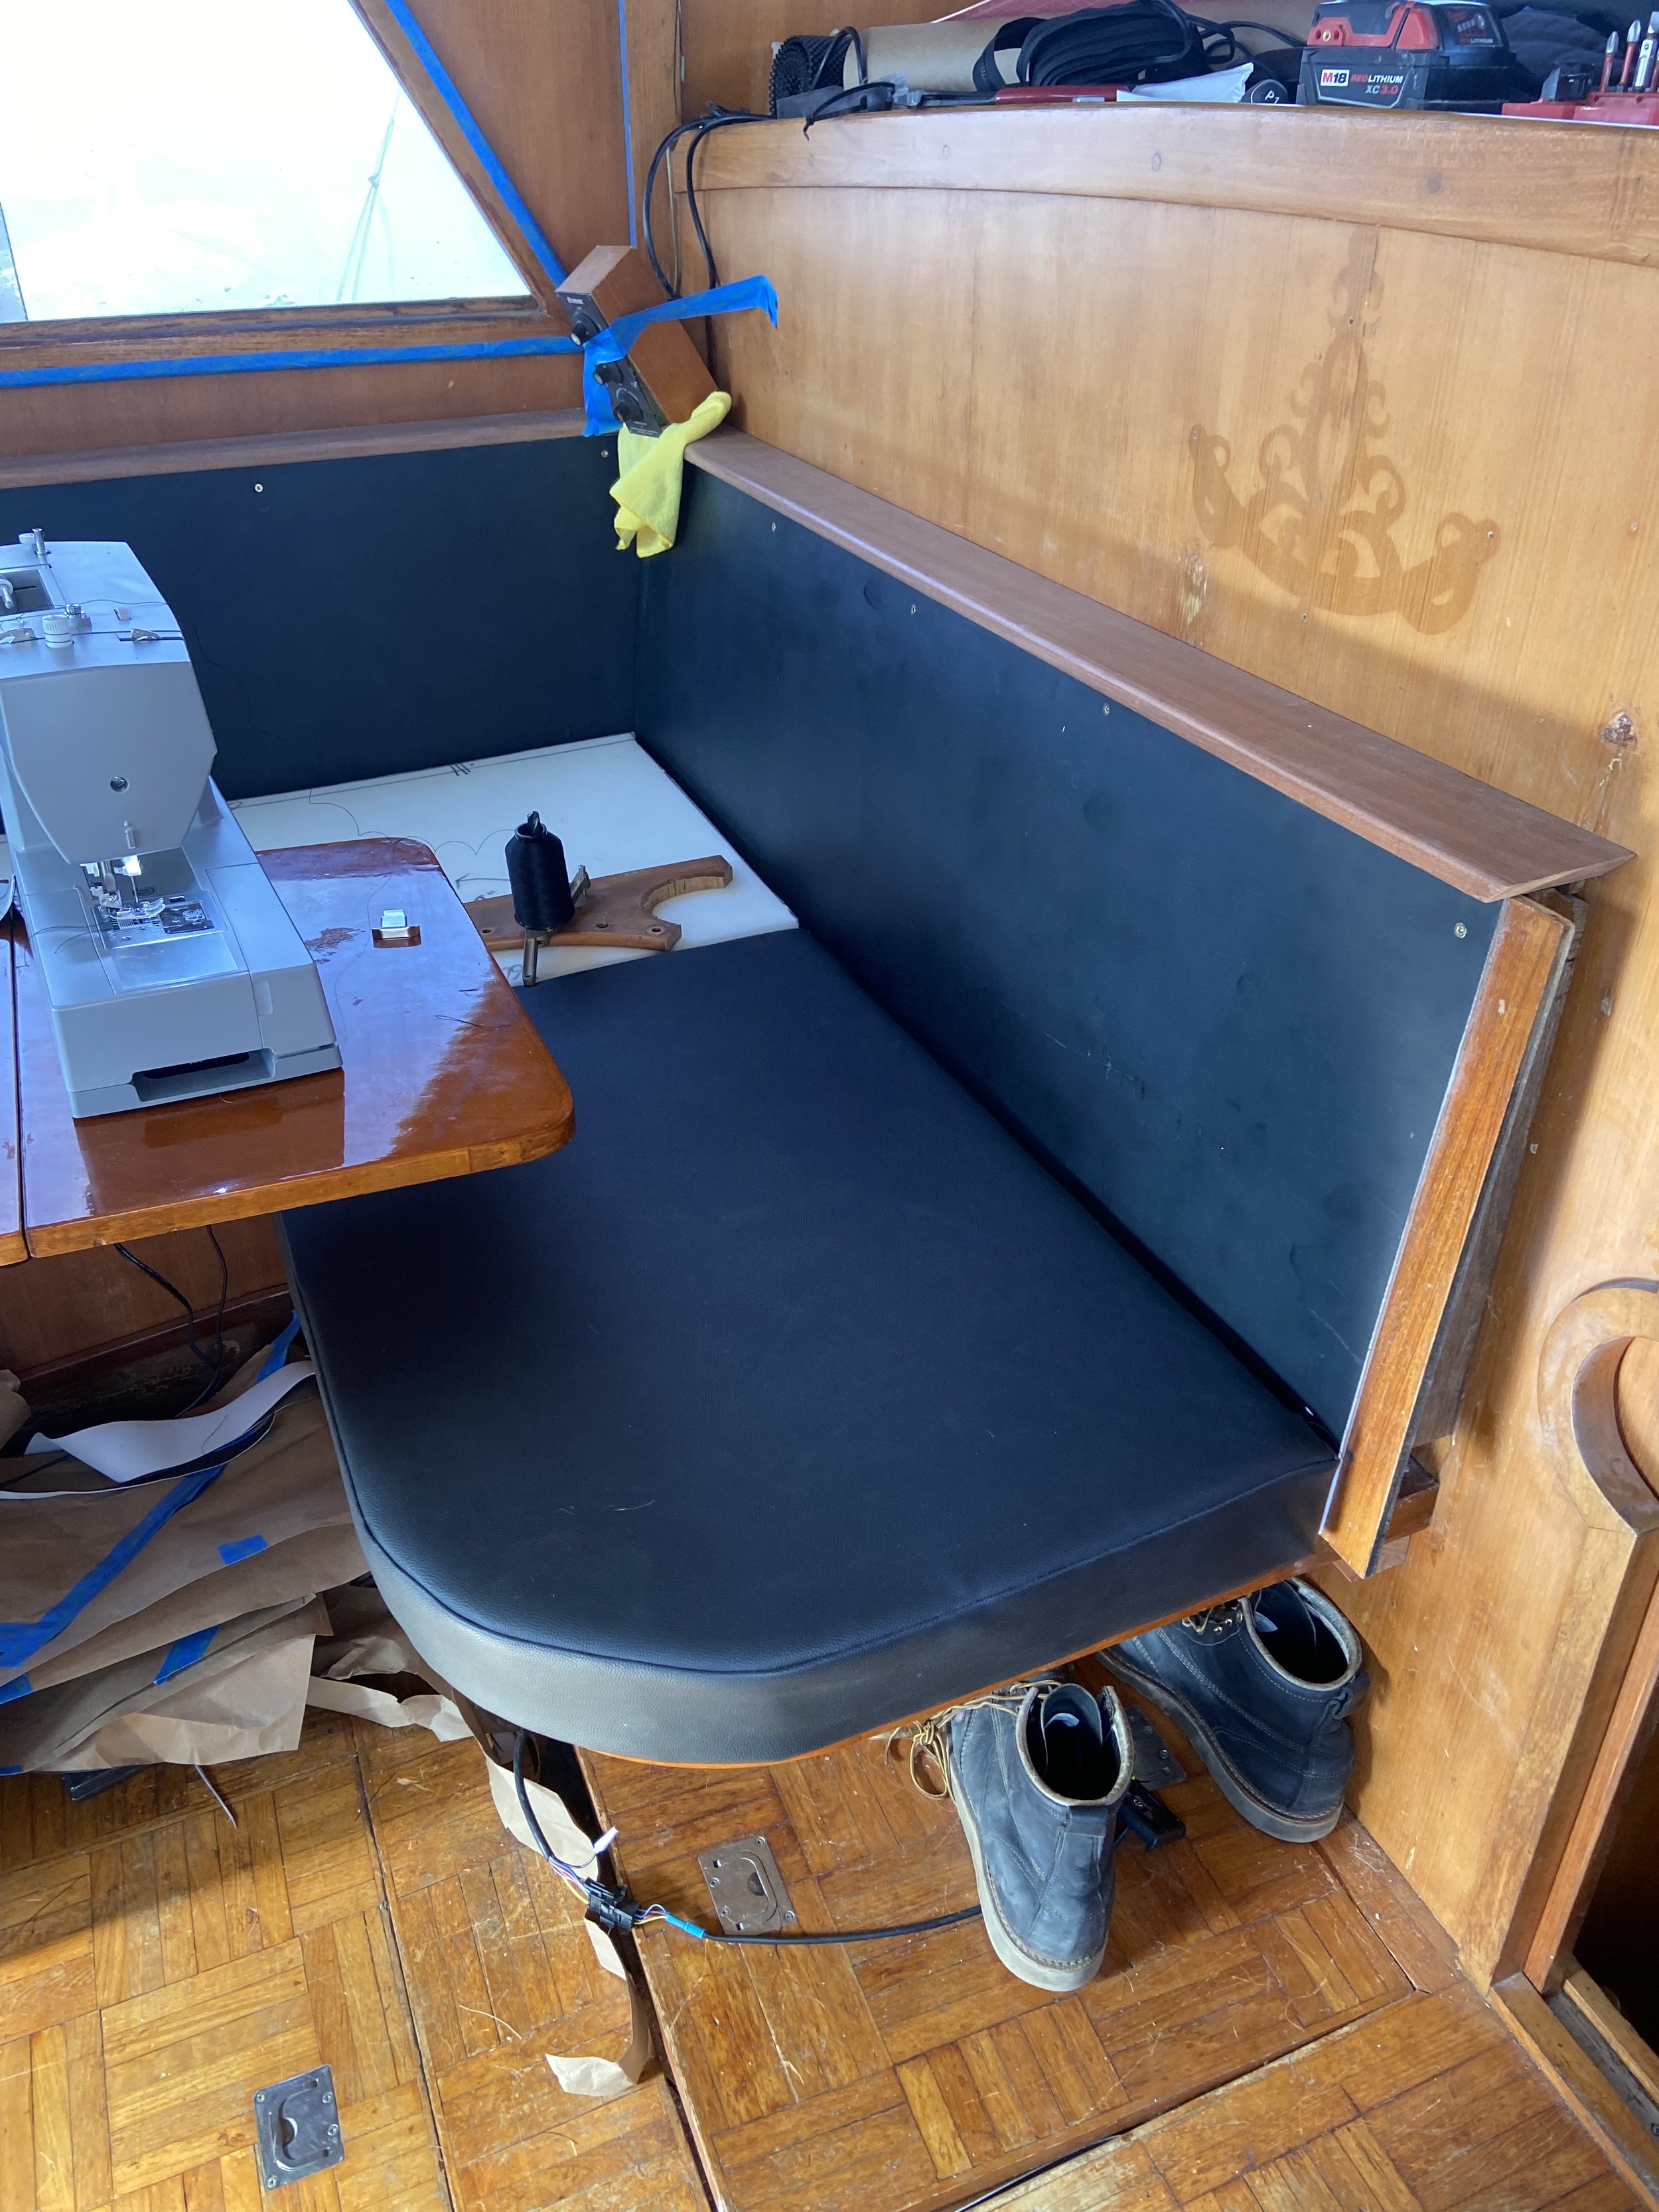
The original settee backing had a rounded radi corner and did not come with all of the old cushions. Andrew decided to reshape the settee by cutting out the rounded corner, making it more comfortable to lounge on and giving us a little more room for seating. If you know Andrew, you know he likes to craft things as best as he can from his own resources. For the settee cushions, he was determined to make them himself. He sourced high density foam and marine grade black leather material from Sailrite, a great source for marine grade materials who also offer tips and tricks when creating your own products. We were gifted our new industrial grade sewing machine (a spectacular wedding gift, might I add), brought it to the boat and Andrew got to sewing.
Sewing Machine:
SINGER Heavy Duty 6800C Computerized Sewing Machine
Here are the materials he used:
High Density Polyurethane Foam (Medium) 4" x 36" x 80" (qty 2)
High Density Polyurethane Foam (Medium) 3" x 24" x 80" (qty 2)
EverSoft™ Indoor/Outdoor Black 54" Vinyl Fabric (7 yards)
V-69 Black UV Bonded Nylon Thread 4 oz. 1,500 yds. (qty 1)
YKK Zipper #5 Metal Stop Brass (Metal Chain) (qty 2)
YKK Continuous Zipper Chain #5 Black (VISLON Chain) (qty 30)
YKK Zipper Slider #5 Black Plastic Single Non-Locking Pull (VISLON Chain) (qty 5)
Seamstick 1/4" Basting Tape for Canvas & Upholstery (50 yds.) (qty 1)
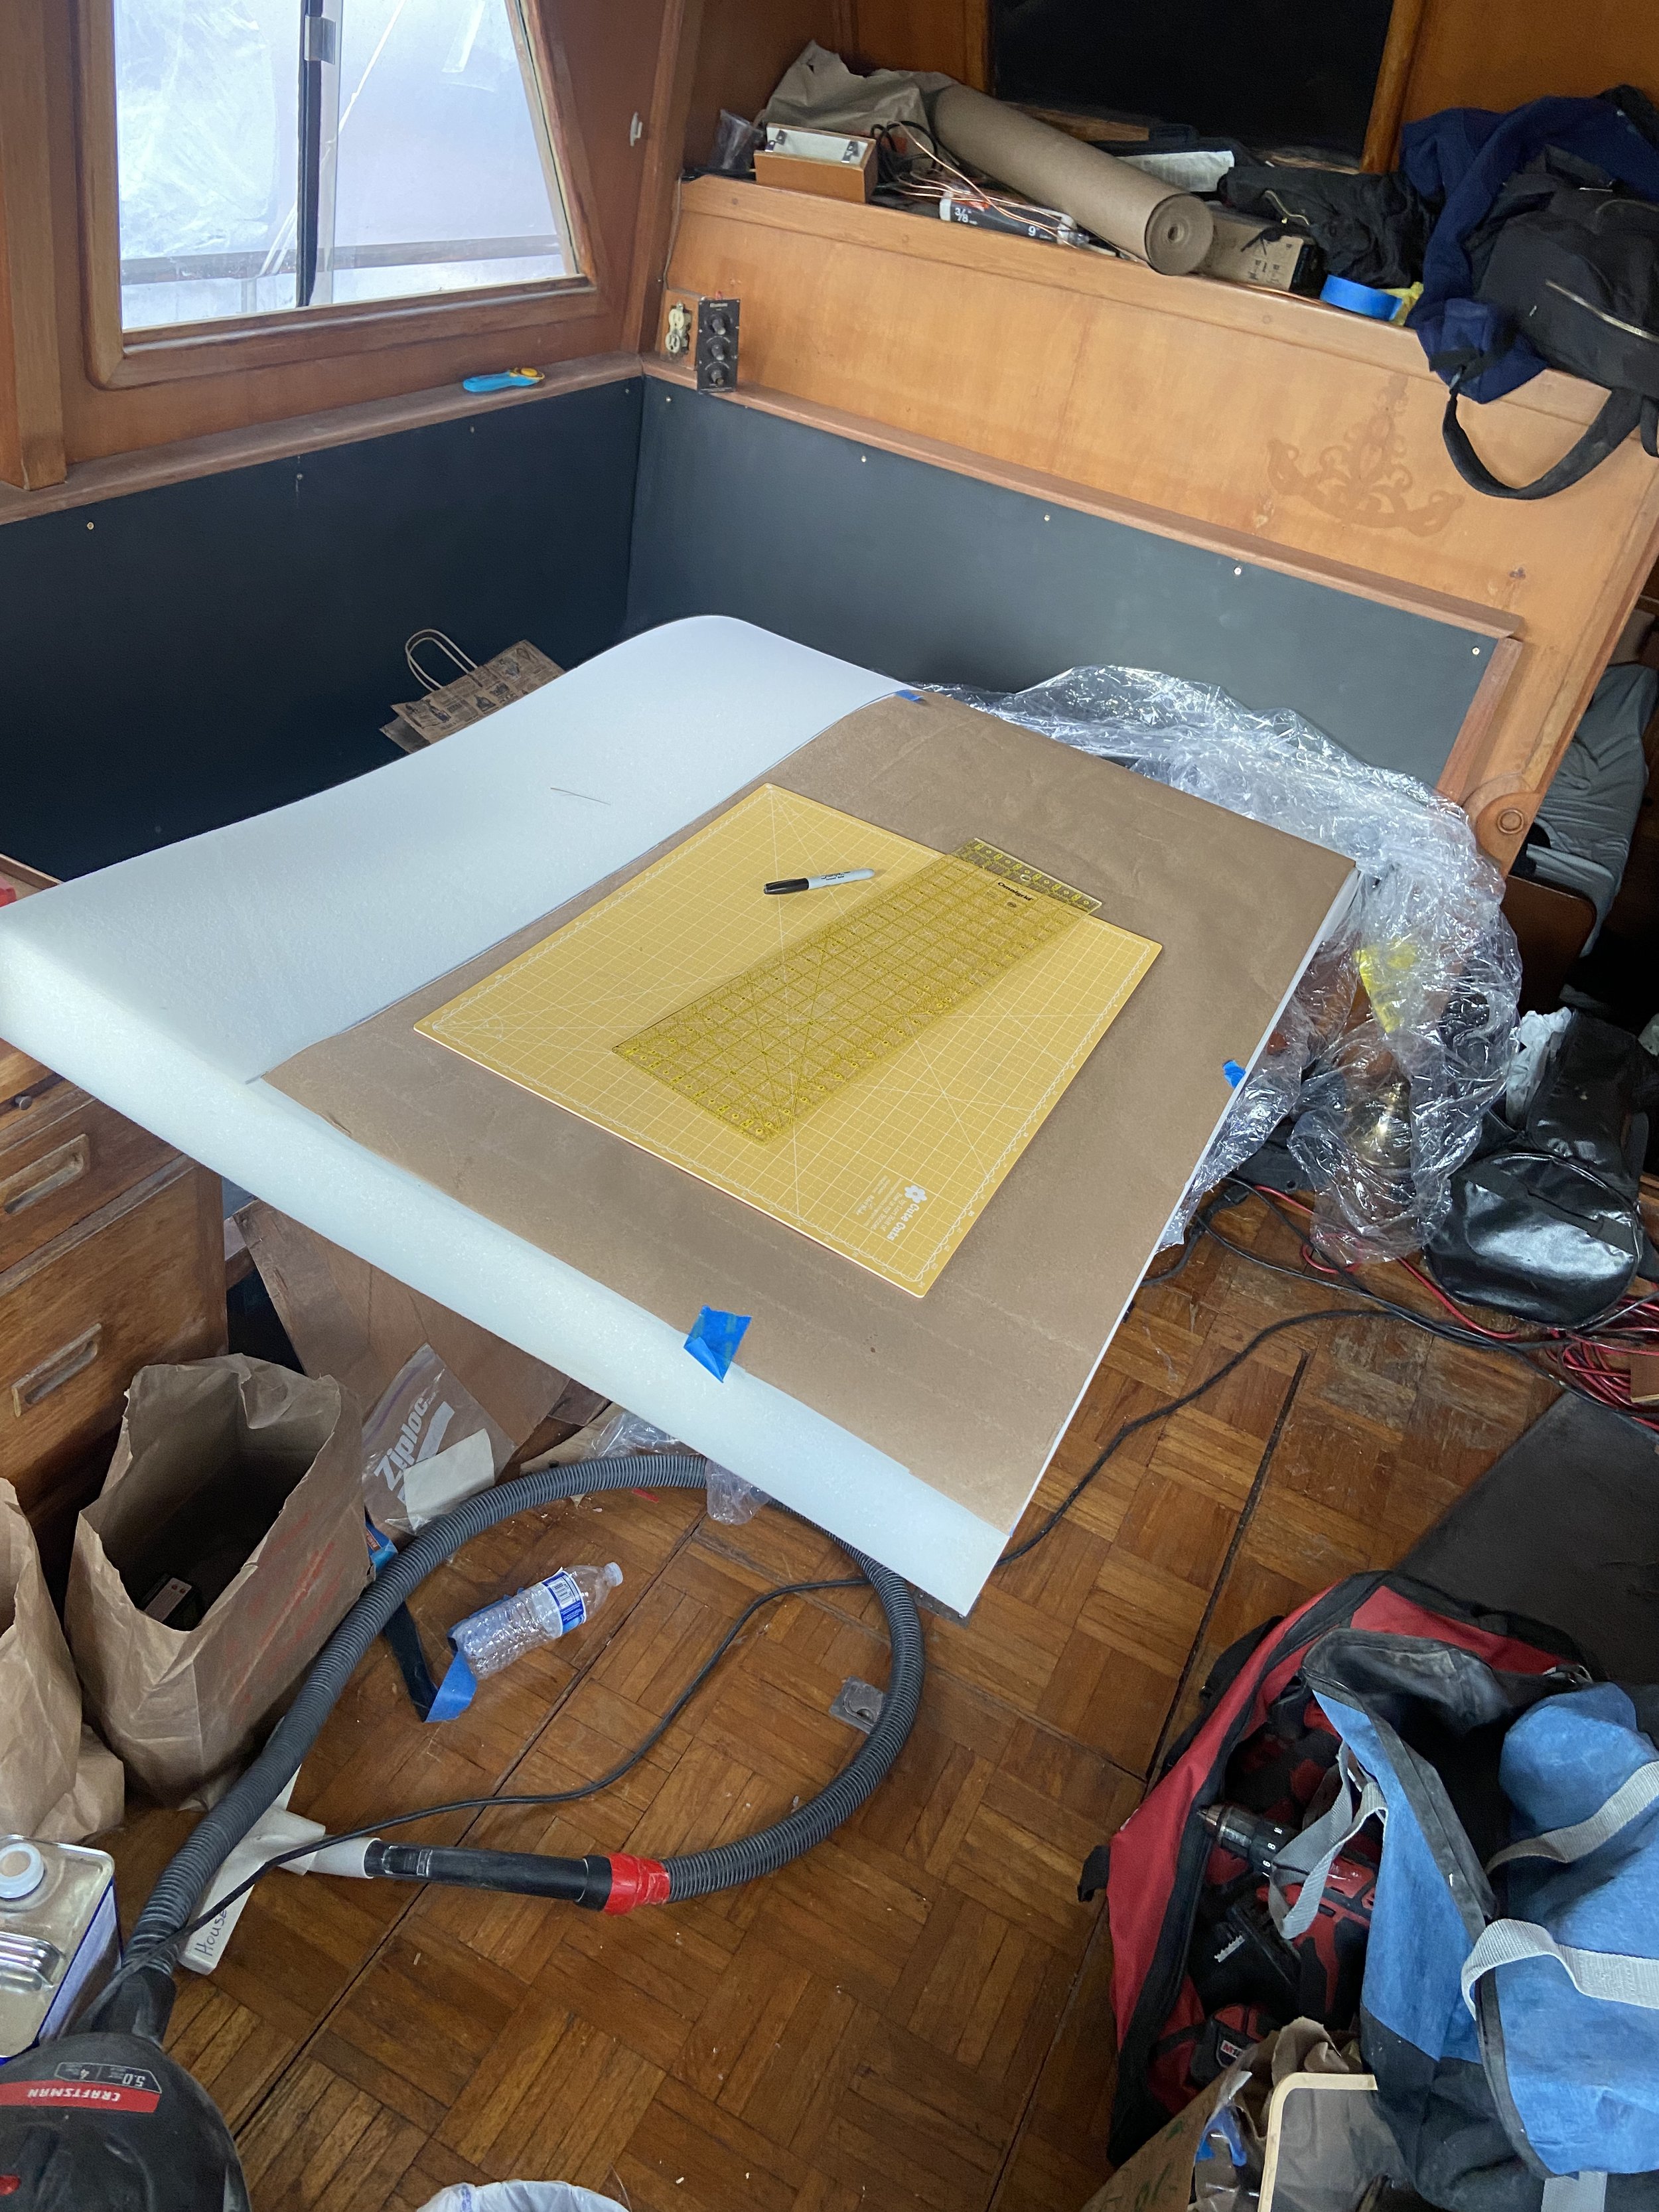
To cut the foam to size, Andrew took cardboard paper and made a template. We used 4” foam for the bottom and 3” for the back. The foam he purchased particularly worked well due to its antimicrobial properties to resist mold and mildew. Instead of buying a ($300) upholstery foam cutter saw, Andrew found an electric kitchen knife ($20) to perform exceptionally. using the same templates to cut the foam, Andrew used that to lay out the fabric.
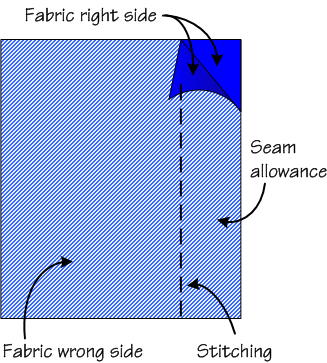
He did not add on a seam allowance because we wanted a tight fitting cover and the foam would compress to really show that. A seam allowance is the area between the fabric edges and the line of stitches when sewing inside-out. Typically, adding a ½” all around your fabric will provide this, but we opted out to give a tight cover.
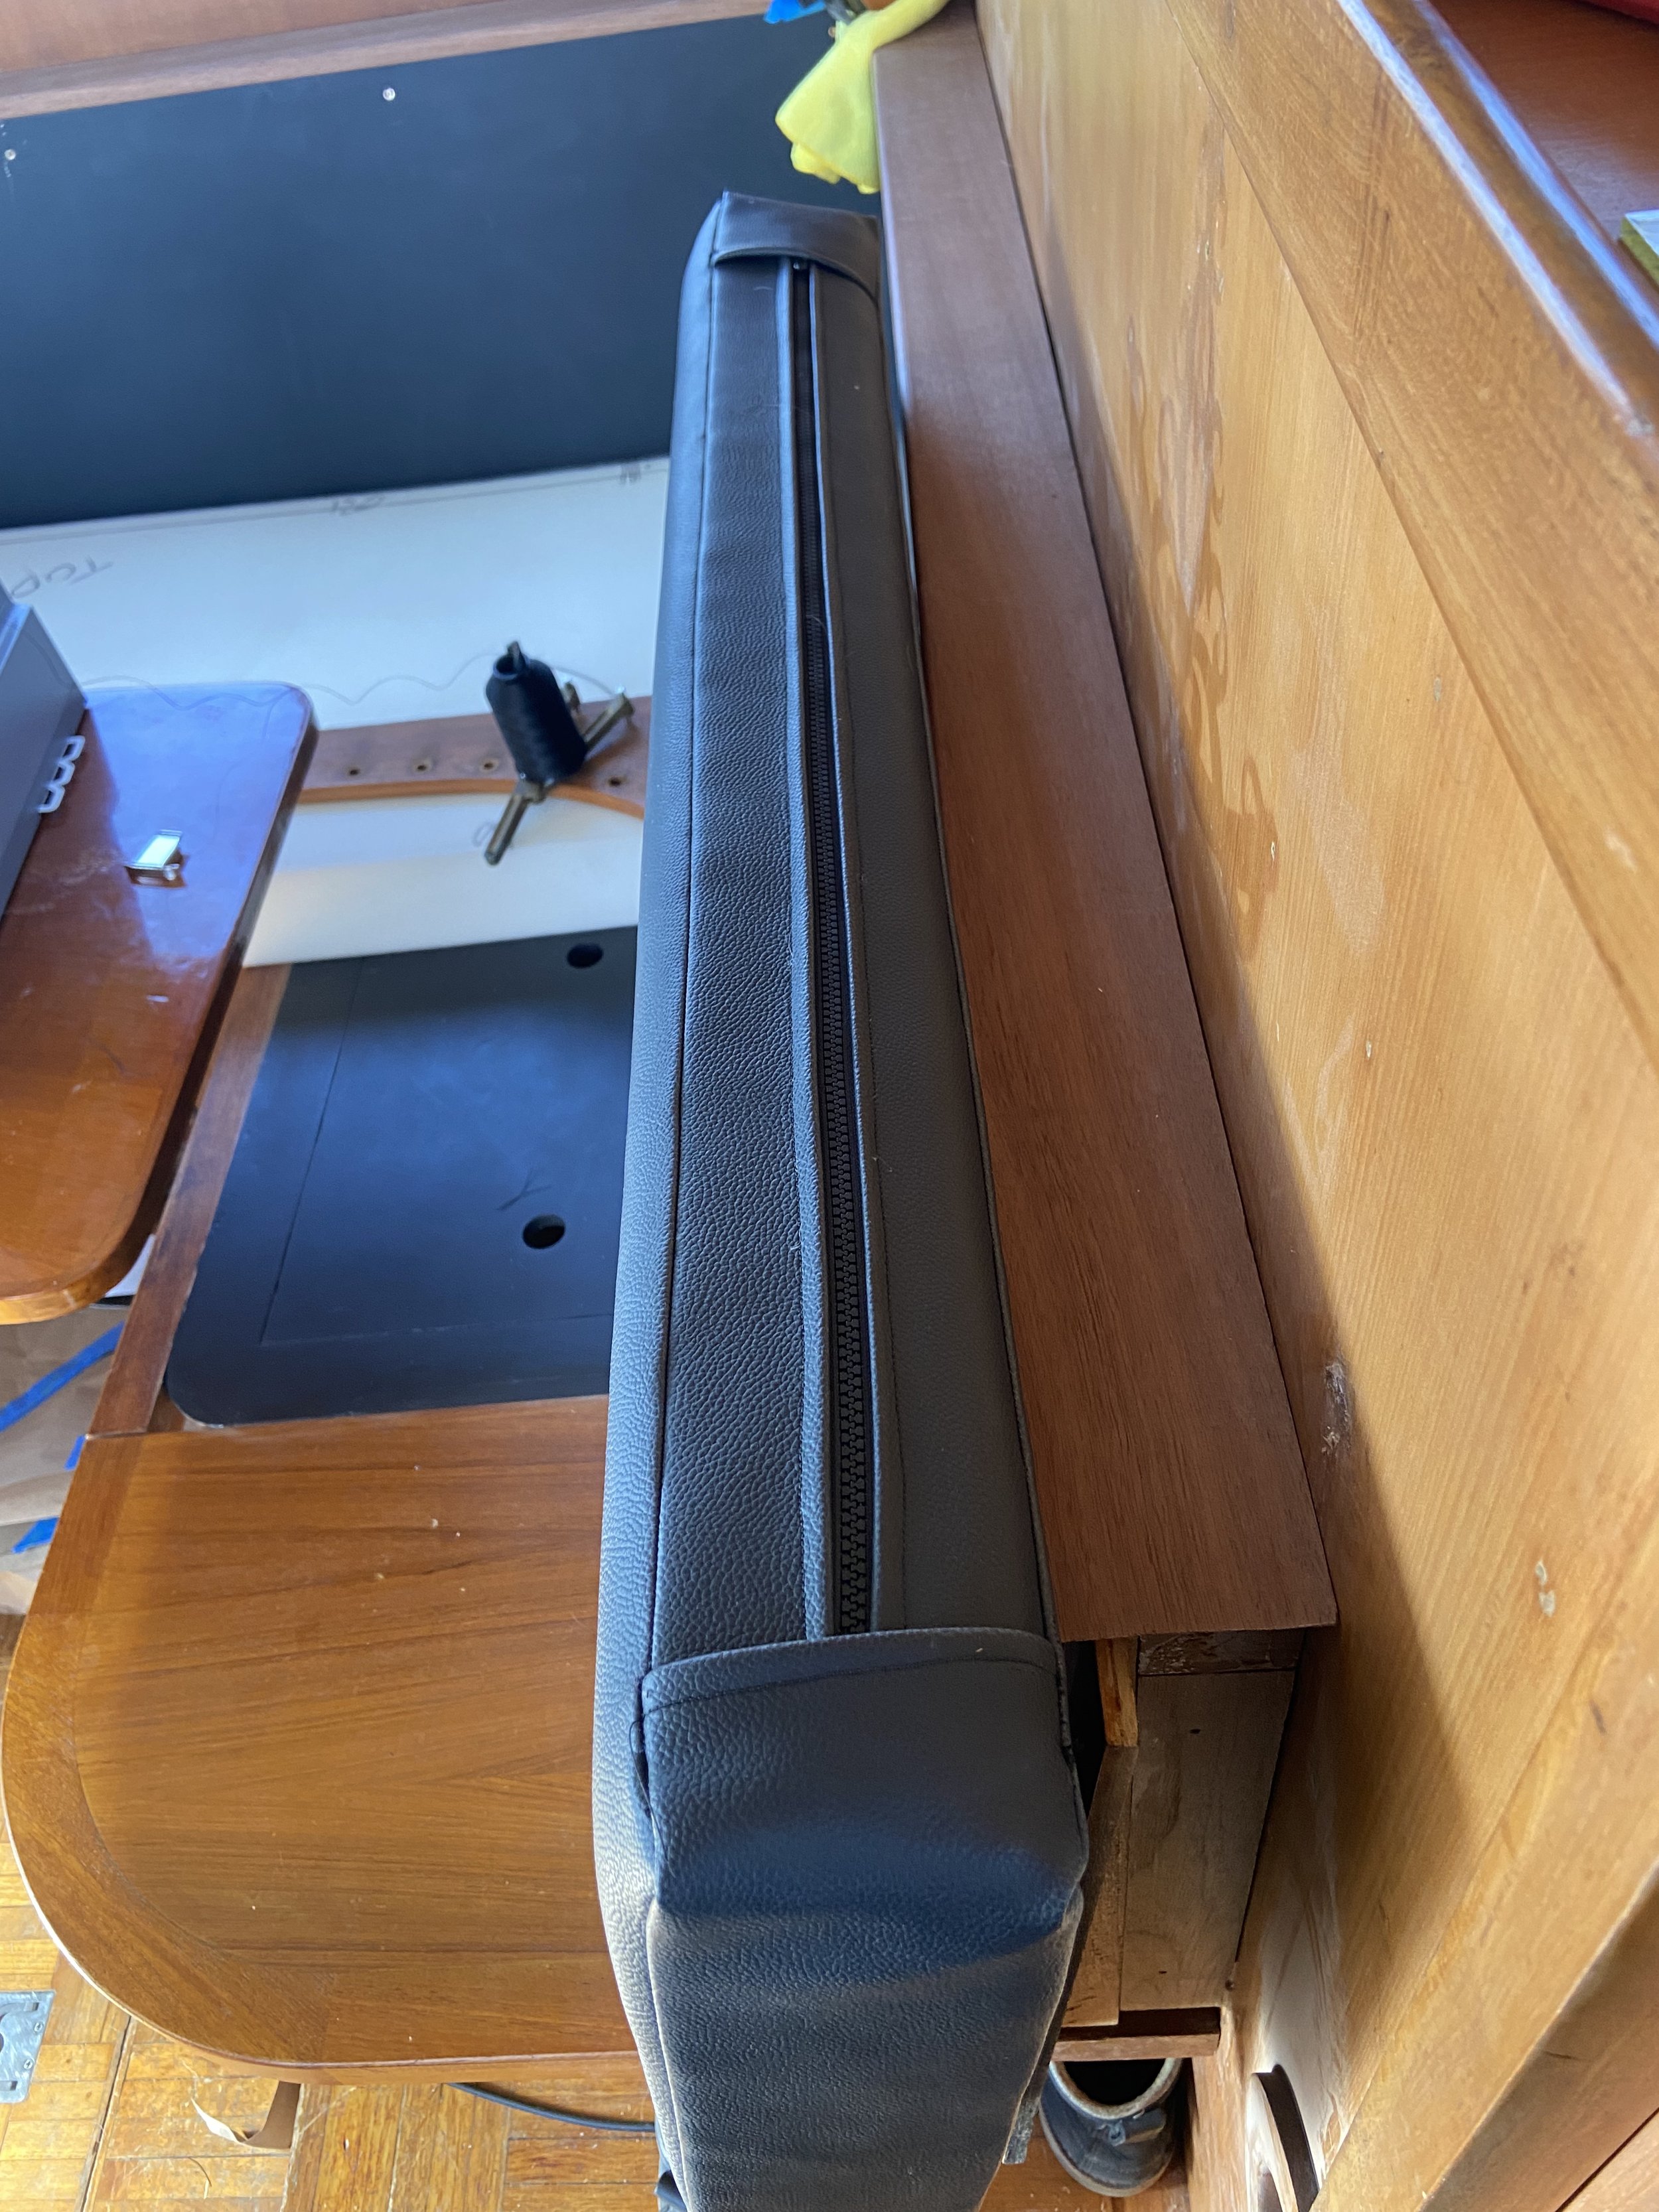
He cut 3” and 4” strips the length of 3 sides of the foam’s perimeter for the sides, and left one side open for where the zipper would go. For the zippered side, he cut 2” fabric “tabs” then stitched it on either end to hide the zipper when closed shut. It took some time to figure out the stitch for the zipper and size the width properly but it came out beautifully. Instead of using pin needles to hold edges together when sewing, he found the basting tape (a double sided tape) to work far better. The hardest part was getting the foam into the cover as the foam and inside of the fabric was interfacing like velcro.

During Andrew’s shipping days, he used to place trash bags over his feet to quickly and easily enter into his Immersion Survival Suit if an abandon ship emergency ever took place.
Andrew did exactly that to slip the foam into the cover then pull it out after it was positioned correctly.
Lastly, he used a 1 ”x 6” x 11’ long piece of mahogany as a cap for the top of the settee and took a router to give it a nice rounded edge. This cap will get 2 coats of Epifanes varnish, then screwed and bunged to the back support, followed by 3 more coats of varnish. Epifanes is know to be one of if not the best varnish companies out there. It has excellent UV reinsurance which we find to be an essential property in any brightwork project as the sun will deteriorate a varnish finish quicker with subpar varnish.